Understanding Moldable Thermofitting Teeth Whitening Trays
Achieving a brighter, whiter smile is a common goal for many, and moldable thermofitting teeth whitening trays offer a convenient and effective way to do so. These trays are designed to be customized to the shape of your teeth, ensuring optimal contact with the whitening gel and maximizing its effectiveness. Unlike generic trays, thermofitting trays provide a snug fit, preventing the gel from leaking and ensuring even whitening across your teeth. This guide will walk you through everything you need to know about using these trays, from understanding their function to achieving and maintaining a dazzling smile.
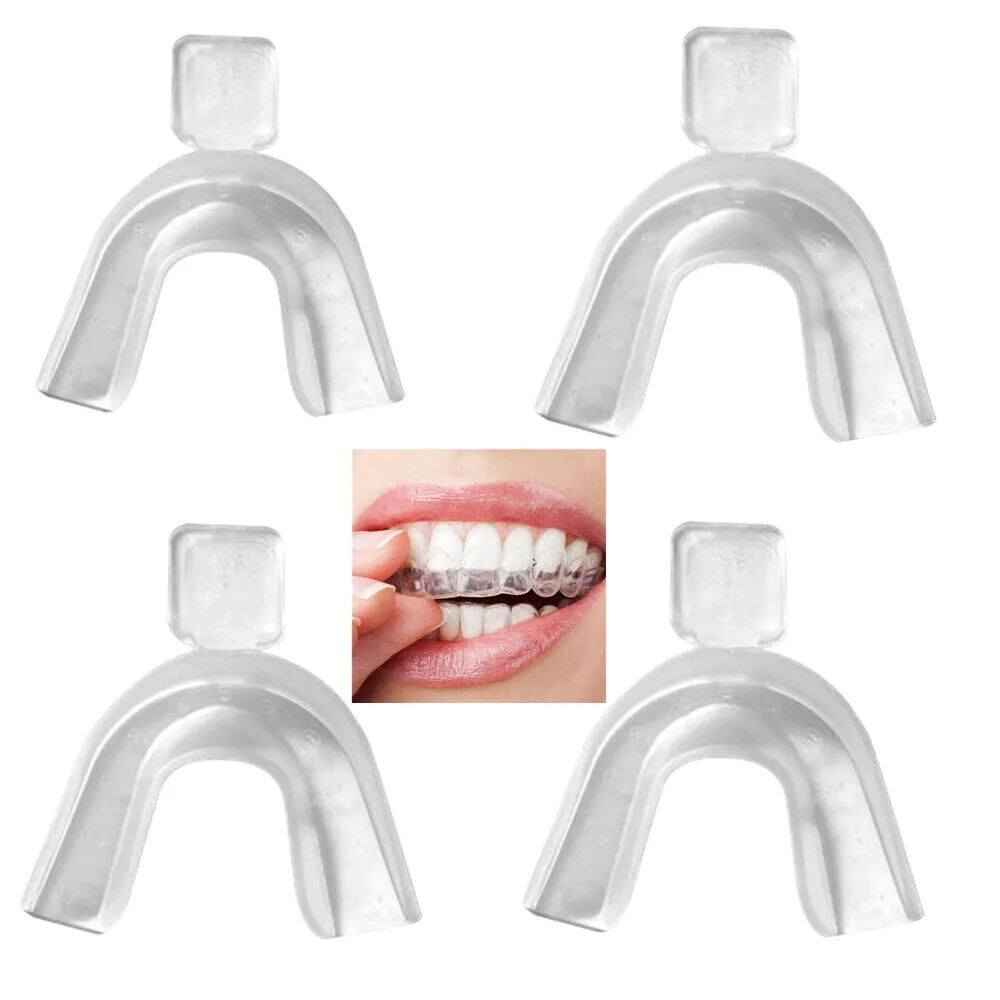
What are Moldable Thermofitting Trays?
Moldable thermofitting trays are custom-fit teeth whitening devices designed to hold whitening gel against your teeth. The term ’thermofitting’ refers to their ability to be molded to the unique contours of your mouth. Typically made of a soft, flexible plastic, these trays become pliable when heated, allowing you to shape them precisely to your teeth. This process ensures a comfortable fit and efficient application of the whitening agent. The snug fit is crucial for preventing saliva from diluting the gel and for keeping the gel in contact with the teeth for the recommended duration. The effectiveness of these trays lies in their ability to deliver the whitening agent consistently and evenly.
Benefits of Using Moldable Thermofitting Trays

Using moldable thermofitting trays offers several advantages over other teeth whitening methods. The primary benefit is the custom fit, which leads to more even and effective whitening results. The trays also provide a more comfortable experience compared to generic trays, as they are tailored to your mouth. Furthermore, thermofitting trays typically use professional-grade whitening gel, available from your dentist, which often leads to faster and more noticeable results compared to over-the-counter options. They are a cost-effective alternative to professional in-office whitening treatments and can be used in the comfort of your own home, providing convenience and flexibility. Moreover, the custom fit minimizes the risk of gum irritation, a common side effect of ill-fitting trays.
Materials Used in Thermofitting Trays
Thermofitting trays are primarily made from thermoplastic materials, usually a type of soft, flexible plastic that is safe for use in the mouth. These materials are designed to soften and become moldable when exposed to heat, allowing them to be shaped to the individual’s dental structure. The specific plastic used is often a medical-grade material, ensuring it is biocompatible and does not leach harmful chemicals into the mouth. The trays are designed to be durable enough to withstand repeated use and cleaning without losing their shape or integrity. The choice of materials is crucial to ensure both the effectiveness of the whitening process and the safety and comfort of the user.
Getting Started Preparing Your Trays
Before you begin the teeth whitening process, proper preparation is key to ensuring the best possible results. This involves gathering all the necessary supplies, cleaning your teeth, and preparing the trays for molding. Taking these initial steps carefully can significantly impact the effectiveness and comfort of your whitening experience. Following the preparation steps diligently sets the foundation for a successful and enjoyable teeth whitening journey, leading to a brighter, more confident smile. Proper preparation ensures the whitening gel is effectively applied and maximizes its impact.
Gathering Your Supplies

You will need a few essential items before you begin the teeth whitening process. Ensure you have your moldable thermofitting trays, teeth whitening gel (typically containing hydrogen peroxide or carbamide peroxide), a soft-bristled toothbrush, toothpaste, and a mirror. It’s also helpful to have a timer or a way to keep track of the whitening time recommended by your dentist or the product instructions. Some kits may include a tray container for safe storage and a shade guide to monitor your progress. Having all supplies ready will make the process smooth and hassle-free.
Cleaning Your Teeth
Before applying the whitening gel, brush your teeth thoroughly. This helps remove any surface debris, plaque, and food particles that could hinder the whitening process. Use a soft-bristled toothbrush and your regular toothpaste, and ensure you brush gently to avoid irritating your gums. Rinse your mouth with water after brushing. Allow your teeth to dry slightly before applying the whitening gel, as this can improve the gel’s adhesion to the tooth surface. A clean mouth provides the best possible environment for the whitening agent to work effectively. The more thorough the cleaning, the better the results.
Heating the Trays Properly
Heating the trays is a crucial step in the molding process. Most thermofitting trays require heating in hot water to soften them. Carefully follow the manufacturer’s instructions, as the heating time and temperature can vary. Typically, you’ll immerse the tray in hot (but not boiling) water for a specific duration, often a few seconds. The tray should become pliable but not too soft, which could lead to distortion. Have a pair of tweezers or a fork handy to remove the tray from the water safely. Once the tray is heated, handle it with care to avoid burns. Proper heating ensures the tray can be molded to your teeth accurately, ensuring the custom fit.
Molding the Trays to Your Teeth

The molding process is where the magic happens – transforming a generic tray into a custom fit for your unique smile. It requires a bit of patience and precision, but the effort is well worth it. A properly molded tray ensures the whitening gel makes optimal contact with your teeth and minimizes any potential gum irritation. By carefully following the steps, you can achieve a comfortable, effective, and personalized teeth whitening experience, maximizing the benefits of your thermofitting trays.
Step-by-Step Molding Instructions
After heating the tray, carefully place it in your mouth, centering it over your teeth. Gently bite down on the tray, ensuring your teeth are evenly positioned. Use your fingers and tongue to press the tray firmly against your teeth and gums, molding it to the shape of your teeth. Hold this position for the recommended time, usually a few seconds, until the tray cools and hardens. Remove the tray carefully and inspect the fit. If necessary, repeat the heating and molding process until you achieve a comfortable and accurate fit. Practice makes perfect, and the more carefully you mold the trays, the better the result will be.
Ensuring a Perfect Fit
A perfect fit is essential for maximizing the effectiveness of your whitening treatment and minimizing any potential discomfort. After molding, carefully examine the tray for a snug fit. The tray should cover all the surfaces of your teeth comfortably, reaching slightly onto your gums without causing irritation. The edges of the tray should be well-defined and follow the contours of your teeth. If the fit is not perfect, reheat the tray and remold it. Check for any gaps or areas where the tray is not closely touching your teeth. A perfect fit ensures optimal contact between the teeth and the whitening gel.
Adding the Whitening Gel

Once your trays are perfectly molded, it is time to add the teeth whitening gel. This process should be done carefully to ensure even application of the gel and to minimize any potential discomfort. The quality of the gel and how you apply it will have a direct impact on the success of your whitening process. Following the right steps will provide you with the best and safest path to a whiter smile, ensuring the maximum results from your thermofitting trays.
Choosing the Right Whitening Gel
The effectiveness of your teeth whitening treatment depends significantly on the whitening gel you choose. Most thermofitting tray systems use gels containing hydrogen peroxide or carbamide peroxide as the active bleaching agents. The concentration of these agents varies; stronger concentrations often yield faster results but may also increase sensitivity. Consult your dentist or the product instructions to determine the appropriate concentration for your needs. Consider your existing tooth sensitivity, the degree of whitening desired, and the recommended usage time. Always purchase gel from a reputable source and ensure it is stored correctly to maintain its effectiveness. Your dentist can provide advice on selecting the most suitable gel.
Applying the Gel to the Trays
After selecting your whitening gel, apply a small amount to each tooth impression within the tray. Use a small syringe or applicator, often provided in the kit, to dispense the gel. A small bead of gel, about the size of a grain of rice, is usually sufficient for each tooth. Avoid overfilling the trays, as this can cause the gel to leak onto your gums and potentially cause irritation. Distribute the gel evenly across the tray, ensuring all the visible surfaces of your teeth will be covered. The goal is to achieve even whitening across all teeth. Wipe away any excess gel that may have spilled on the tray to prevent discomfort during use.
Using the Trays for Whitening

Using your thermofitting trays correctly is a crucial part of the teeth whitening process. Adhering to the recommended usage time and best practices ensures that you obtain the maximum benefits without unnecessary risks. This section provides you with the necessary guidance to use your trays safely and efficiently, guaranteeing a brilliant and healthy smile.
Recommended Whitening Time
The duration for which you should wear the trays varies depending on the concentration of the whitening gel and the specific product instructions. Generally, treatments can last from 30 minutes to several hours per session. Follow the instructions provided with your kit or the advice of your dentist. Avoid exceeding the recommended time, as this may increase the risk of tooth sensitivity or gum irritation. Consistency is key; regular use according to the recommended schedule is more effective than occasional, extended sessions. Your dentist can help you determine the best whitening time based on your needs.
Best Practices for Tray Usage
For the best results, there are a few best practices to follow. Ensure your teeth are clean and dry before inserting the trays. Insert the trays carefully, making sure the gel does not come into contact with your gums. Avoid eating or drinking anything other than water while the trays are in. If you experience any sensitivity, stop the treatment and consult your dentist. Remove the trays and rinse your mouth and the trays thoroughly after each treatment. Regular check-ups with your dentist can help monitor your progress and address any concerns.
Post-Whitening Care

The journey to a brighter smile does not end after you have removed your trays. Proper post-whitening care is vital for maintaining your results and preserving your oral health. By following these recommendations, you will be able to enjoy your dazzling white smile for an extended period, ensuring its long-lasting impact and protecting your overall well-being.
Cleaning and Storing Your Trays
After each use, it is crucial to clean your trays thoroughly to remove any residual gel and prevent the growth of bacteria. Rinse the trays under cool water, and gently brush them with a soft toothbrush and mild soap. Avoid using hot water, as it can warp the plastic. Rinse the trays thoroughly and allow them to air dry completely. Store the clean, dry trays in a clean, dry place, preferably in their original container or a designated tray case. Properly cleaning and storing your trays will extend their lifespan and prevent contamination.
Maintaining Your White Smile
Maintaining your newly whitened smile involves a combination of good oral hygiene practices and lifestyle choices. Brush your teeth at least twice a day and floss daily to remove plaque and prevent staining. Limit your intake of staining foods and drinks, such as coffee, tea, red wine, and dark-colored berries. Consider using a whitening toothpaste to help maintain brightness. Regular dental check-ups and professional cleanings can also contribute to keeping your smile bright. Using the thermofitting trays occasionally for touch-ups, as directed by your dentist, can further prolong your results. Making smart choices is the secret to a lasting bright smile.